I purchased 4 new solar panels from http://www.ramsond.com/solarprod.php
They are 250 watts each, I will only install 2 panels at this time, but the installation will be the same for the other two....it is called stacking. I will need a charge controller for each pair of panels.
By the way I have plenty of room on the top of the 5th wheel for 3 panels, but the 4th one will be difficult so if it is not needed I will not use it.
 |
| Here is what arrived on my driveway. |
I guess I should have been more specific as to which driveway I wanted them dropped off at...lol!
I had to carry each panel around to the other driveway next to the garage. These panels were very well packaged, they arrived in excellent condition.
 |
| I even got a really nice purse???? It had the paper work inside.....to be honest the instruction were of little help......BUT.....the tech support people are FANTASTIC!!!!!!!!!!! | | | | | | | | | | | | |
|
 |
| I can not say enough about how impressed I am with the quality of these panels. |
 |
| Not sure if I want to show off my work station or not, but here it is. The Harbor Freight drill press lasted about 3 holes......what a waste of money....I bought it years ago and this was the first time I ever used it....I should have known better!!!! | | |
|
|
 |
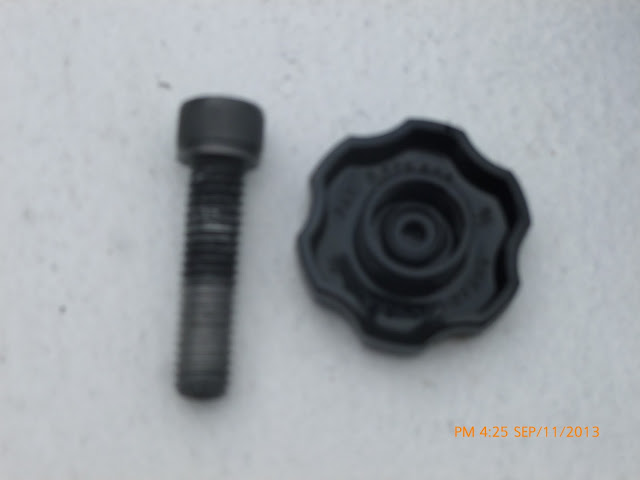
| I had a local metal supply dealer cut the 1/8th inch 1.5 x 1.5 angle iron. Then I drilled the holes for the blind nuts I got at the local nut and bolts......they supplied all the hardware for this project. |
 |
| These are the legs I made for tilting the panels....I drilled multiple holes for additional options. To be honest I followed the kid at the counter's suggestion for installing the blind nuts and then at the last one I remembered the correct way.....Got to love TBI!!!! | |
|
|
He had me use a large nut as a spacer? grip the nut from the back side with vise grips and then crank down on things.....what a mess....the correct way would be to put a nut on the bolt then install the bolt into the blind nut and turn the first nut away from the head of the nut forcing the blind nut up from the bottom...sorry I do not have photos to show the process.
 |
| Here is a photo of one of the legs I made up so I can tilt the panels note the optional holes for different angles. |
 |
| Here you can see how the hinge works, I installed a nylon washer between the mounting rail and the shorter roof mount. |
 |
| This is how the mounts look on the back side of the 250 watt panel. |
 |
| Both mounts are bolted on just need to add other roof mount and the legs. |
 |
| This is the way things will be bolted together when the panels are in their travel or flat position. The leg is bolted into a holding hole so it does not bounce on the roof as I drive down the road. It would need to be reversed so the blind nut can be used at the other end when in the raised position....confused...I can not tell you how difficult it was for me to figure this all out with my TBI.....something like this would have been so natural for me before.....today for me to do something like this took me days to figure out and then remember the whole thing, once I started to do the work it became extremely difficult for me to build....and yes I did make mistakes ( if you knew me before TBI, you know how easily and quickly I would have built something like this) as it turned out I spent at least 3 days just putting this much together. |
 |
| I sure hope things are not as out of square as this photo makes them appear???? |
 |
| A hammer and block of wood turned this...... |
 |
| Into this!!!! |


No comments:
Post a Comment